
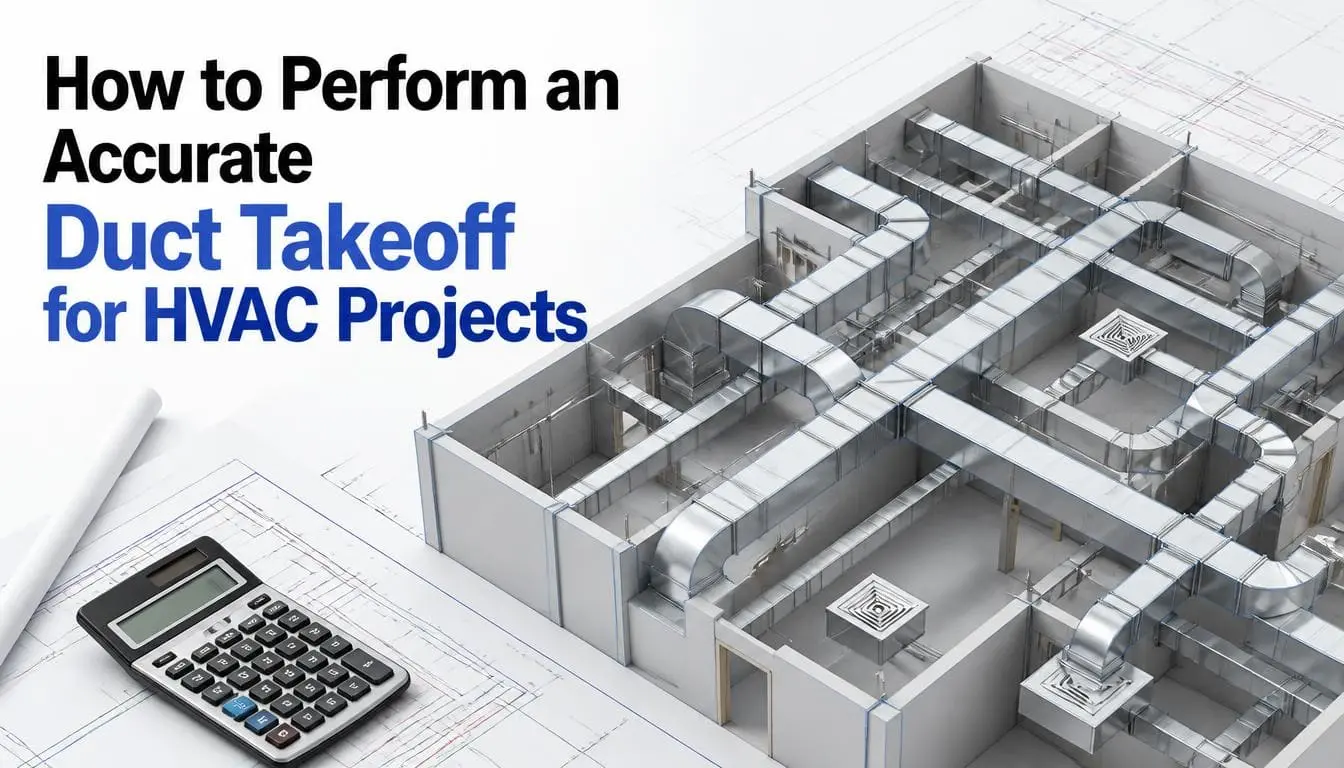
To perform an accurate duct takeoff for HVAC projects, verify the drawing scale first, read the mechanical spec, then measure every duct run by size and system. Convert each run into square feet, add liner and waste, and turn that into pounds of metal. Count every fitting, damper, hanger, and diffuser separately. Then cross-check your totals before you price anything.
Short on time before bid day? Overloaded teams use expert duct takeoff services to verify quantities while in-house estimators focus on pricing.
Most sheet metal jobs are won or lost in this one step. Price is just math on top of quantities. If the quantities are wrong, the price is wrong, and no amount of smart markup fixes it later.
What Is a Duct Takeoff in HVAC Work?
The phrase means two different things, and mixing them up costs people money.
In terms of estimating, an HVAC duct takeoff is an exact and complete count and measurement of every piece of ductwork on a set of drawings. It includes length, size, gauge, material, fittings, accessories, and hangers. This is what estimators mean.
In terms of field, a takeoff is also a physical fitting. It is the collar or tap that pulls air from a main trunk into a branch line. Spin-ins, saddle taps, high-efficiency scoops, and rectangular taps are all takeoffs.
What Does an Accurate Duct Takeoff for HVAC Projects Actually Include?
A complete takeoff covers nine categories. Miss any one of them and your number is short.
| Category | What you quantify |
| Straight duct | Linear feet by size, gauge, material, and pressure class |
| Fittings | Elbows, tees, transitions, offsets, taps, end caps, boots |
| Duct liner and wrap | Square feet by thickness and R-value |
| Accessories | Volume dampers, fire and smoke dampers, access doors, turning vanes, flex connectors |
| Air devices | Supply diffusers, return grilles, exhaust grilles, transfer grilles |
| Equipment | AHUs, RTUs, VAV boxes, fan coils, exhaust fans, sound attenuators |
| Support | Hanger rods, straps, trapeze steel, seismic bracing |
| Sealing | Sealant, mastic, tape, and gasket by seal class |
| Testing | Leakage testing scope, test and balance scope |
The first two drive most of the cost. The last four are where estimators lose margin, because they feel small on paper and are not small in the field.
How Do You Perform a Duct Takeoff for HVAC Projects Step by Step?
To perform a duct takeoff for HVAC projects, follow the steps given below. The order matters because each step feeds the next.
Step 1: Verify the Drawing Scale
Measure a known dimension first. Column grid spacing works best. If the plan says 30 feet on center and your tool reads 28 feet 4 inches, every measurement after that is wrong by 6%. PDFs get resized when they are printed and re-scanned, so never trust the printed scale bar alone.
Step 2: Read the Spec and Lock Your Construction Standard
Write down the pressure class, gauge schedule, seal class, and liner requirement before measuring. Most commercial specs point to the SMACNA (Sheet Metal and Air Conditioning Contractors’ National Association) HVAC Duct Construction Standards, which set seven pressure classes: 0.5, 1, 2, 3, 4, 6, and 10 inches w.g. Each class carries its own gauge, reinforcement, and sealing rules. The International Mechanical Code references these standards directly, so this is not optional guidance.
Step 3: Split the Job into Zones and Systems
Break the takeoff by floor, then by system: supply, return, exhaust, outside air, and kitchen exhaust. Then split by material and pressure class. You want separate totals, not one giant pile of pounds. Separate totals let you phase the work, order metal in batches, and find your own errors later.
Step 4: Color the Drawings as You Go
Highlight each run as you measure it. Use one color per system. This sounds basic. It is the single cheapest error check in estimating because an unhighlighted duct on a finished sheet is a duct you never counted.
Step 5: Measure Straight Duct by Segment
Duct size changes along a trunk. A main might start at 36×24 at the air handler and finish at 12×8 at the last branch. Measure each size change as its own segment. Never average. Weight per foot changes with every size change, and averaging always underestimates the big end.
Step 6: Count Fittings Individually
Every elbow, tee, transition, offset, and tap gets counted by size and type. Fittings are heavier per foot than straight duct and take far more shop hours. A percentage add is a check, not a substitute.
Step 7: Count Accessories and Air Devices
Go diffuser by diffuser. Each one usually needs a branch duct, a tap, a balancing damper, flex, and a plenum box. Count fire dampers off the architectural fire-rated wall plan, not from memory, and add an access door at every one.
Step 8: Take Off Hangers and Support
Use the spacing in the spec. If it calls for support every 8 feet, a 200-foot run needs 25 support points, each with a rod, strap, and hardware. A large duct needs trapeze steel and a heavier rod.
Step 9: Extend into Weight, Hours, and Cost
Now convert square feet to pounds, pounds to shop and field hours, and then to price. Keep the raw quantities in their own column so you can re-price later without redoing the ductwork takeoff.
How Do You Convert Duct Sizes Into Pounds of Metal?
Use two formulas. Surface area first, then weight.
Surface area per linear foot = 2 × (width + height) ÷ 12
Weight = square feet × pounds per square foot for that gauge
Galvanized steel weights come straight from the SMACNA tables:
| Gauge | Thickness | Weight (lb/sq ft) |
| 26 | 0.0217 in | 0.906 |
| 24 | 0.0276 in | 1.156 |
| 22 | 0.0336 in | 1.406 |
| 20 | 0.0396 in | 1.656 |
| 18 | 0.0516 in | 2.156 |
Worked Example: 60 Feet of 24×12 Duct
- Perimeter: 2 × (24 + 12) = 72 inches = 6 square feet per linear foot
- Net area: 60 × 6 = 360 square feet
- Waste factor at 10 percent for seams, corners, and scrap: 396 square feet
- Weight at 24 gauge: 396 × 1.156 = 458 pounds
- Fittings on this run at 30 percent: 458 × 1.30 = 595 pounds total
10% waste is the normal allowance for shop-fabricated rectangular duct. Push it to 15% for lined duct, field-fabricated work, or heavy fitting counts. Fitting percentages run about 25% on simple open-plan work and 40% or more on tight mechanical rooms and hospital work.
Lined Duct Changes the Metal Size
This one gets missed constantly. Drawings usually show the clear inside dimension when the duct is lined. The sheet metal has to be bigger.
A 24×12 duct with a 1-inch liner is fabricated as a 26×14. Perimeter jumps from 6.0 to 6.67 square feet per foot. That is 11% more metal on that run before you price a single square foot of liner. On a job with 8,000 feet of lined duct, that difference is real money.
How Do You Turn Takeoff Quantities Into Labor Hours?
Divide the metal weight in pounds by a productivity rate. Shop and field rates are different, and you need both.
Published industry rates from Wendes Systems put typical 24-gauge low-pressure galvanized duct at about 44 pounds per hour to fabricate and 25 pounds per hour to install. Fieldwork is slower because crews work off ladders and lifts, around other trades, with the metal already cut.
The same rates in area terms: about 38 square feet per hour in the shop, 22 square feet per hour in the field.
Run the 595-pound example from earlier through it:
- Shop: 595 ÷ 44 = 13.5 hours
- Field: 595 ÷ 25 = 23.8 hours
- Total: 37.3 hours for one 60-foot run with fittings
That is 37 hours of labor for one 60-foot duct run. Multiply that across a full floor and you can see why weight drives the bid.
Labor rates are the hardest part to get right because they come from your own history, not from a book. Contractors who have not built up that history yet often lean on HVAC estimating services for the first year of bids, then replace those rates with their own actuals as jobs close out.
Whichever route you take, confirm which of the three methods below produced the hours before you compare two numbers.
| Method | How it works | Best for |
| Pounds per hour | Total weight ÷ productivity rate | Rectangular galvanized, fast budgets |
| Hours per piece | Set hours assigned to each duct and fitting | Detailed bids, mixed fitting sizes |
| Square feet per hour | Area ÷ productivity rate | Specialty duct: PVC, FRP, fiberglass, flex |
Then apply job factors. Work above 15 feet, occupied buildings, night shifts, phased turnovers, and tight ceiling cavities all slow crews down. Apply those factors to the hours, not to the material.
What Gets Missed Most Often in a Duct Takeoff?
These twelve items account for most blown sheet metal budgets. Run this list before every bid.
- Liner thickness added to metal size (the 11 percent problem above)
- Access doors at every fire damper, smoke damper, and coil
- Turning vanes in every square elbow
- Volume dampers at every branch and every diffuser drop
- Flexible connections at every fan and air handler
- Risers counted on both floors, or counted twice by two estimators
- Kitchen grease duct, which is welded black iron with a wrap assembly, not galvanized
- Sound attenuators shown only in sections or details
- Roof curbs, rails, and rigging for rooftop equipment
- Seismic bracing where local code triggers it
- Duct leakage testing scope per the SMACNA leakage manual
- Temporary filtration and duct protection during construction
Details and sections hide more scope than plans do. Estimators who only work from floor plans miss offsets around beams, drops to low ceilings, and every piece of duct in a shaft.
Manual, Digital, or AI Takeoff: Which One Should You Use?
All three produce a valid sheet metal takeoff. They differ in speed and in where the errors hide.
| Method | Speed | Where errors come from | Best for |
| Manual (scale rule and paper) | Slowest | Tired eyes, arithmetic, missed sheets | Small jobs, renovations, sketchy drawings |
| Digital on-screen | 3 to 5 times faster | Wrong scale, wrong assembly settings | Most commercial bids |
| AI-assisted detection | Fastest first pass | Misread symbols, missed handwritten notes | High bid volume, clean vector PDFs |
Digital tools are the standard now because they hold your gauge tables, liner rules, and labor rates in one place and extend automatically. AI tools read symbols and vector geometry to produce a draft quantity list in minutes.
Neither one reads the spec for you. Neither one knows that the owner requires double-wall duct in the atrium because it is written in a paragraph on sheet M-001. Verify the machine output against the schedules every time.
What Are the Most Expensive Duct Takeoff Mistakes?
| Mistake | Why it hurts | What it costs |
| Wrong drawing scale | Every quantity shifts at once | 5 to 10 percent of the whole bid |
| Ignoring liner on metal size | Understates metal on every lined run | About 11 percent of lined duct metal |
| Missing gauge upgrade for pressure class | Buying 24 gauge, fabricating 20 gauge | 40 percent more metal weight on affected runs |
| Skipping hangers and support | Real material and real hours, priced at zero | Thousands of dollars on a mid-size job |
| Averaging duct sizes | Always underestimates large trunks | 3 to 8 percent of duct weight |
| Missing fire dampers and access doors | High unit cost, plus inspection failures | Change order plus schedule delay |
Do the math on the third one. A 30,000-pound job that comes in 10% short is 3,000 pounds of unpriced metal and roughly 120 unpriced field hours at 25 pounds per hour. That is a profitable job turning into a break-even one on a single missed variable.
Final Word
An accurate duct takeoff for HVAC projects comes down to discipline, not talent. Verify the scale. Read the spec. Measure by segment. Count every fitting, damper, hanger, and access door. Then check your own work with the CFM total, the tap count, and the floor-to-floor comparison before the number leaves your desk. Estimators who follow that order bid faster and argue less in the field. Estimators who rush the takeoff find the missing scope in the field, at change-order prices.
Frequently Asked Questions
Q1: What is the difference between a takeoff and an estimate?
The takeoff is the count. The estimate is the price. A takeoff produces quantities: linear feet, pounds, pieces, and square feet of liner. The estimate applies material costs, labor rates, job factors, overhead, and profit to those quantities. The same quantities plus different labor rates equal two very different bids, which is why quantity accuracy has to come first.
Q2: Should I count fittings individually or use a percentage?
Count them individually on any competitive bid. Fittings carry far more shop labor per pound than straight duct, and their share of total weight swings from 25% on open plans to 40% or more in tight mechanical rooms. Use the percentage method for early budget numbers, then use it afterward as a sanity check against your detailed count.
Q3: How accurate does a takeoff need to be?
Tight enough that quantity error stays well below your profit margin. If you bid at a 10% margin and your quantities run 8% light, the job is nearly break-even before it starts. Track your bid quantities against actual shop and field numbers after every job, and adjust your waste and fitting factors from your own history.